Installation
Download the installer for your operating system from the xPilot website.
X-Plane and xPilot must be closed before installing or upgrading.
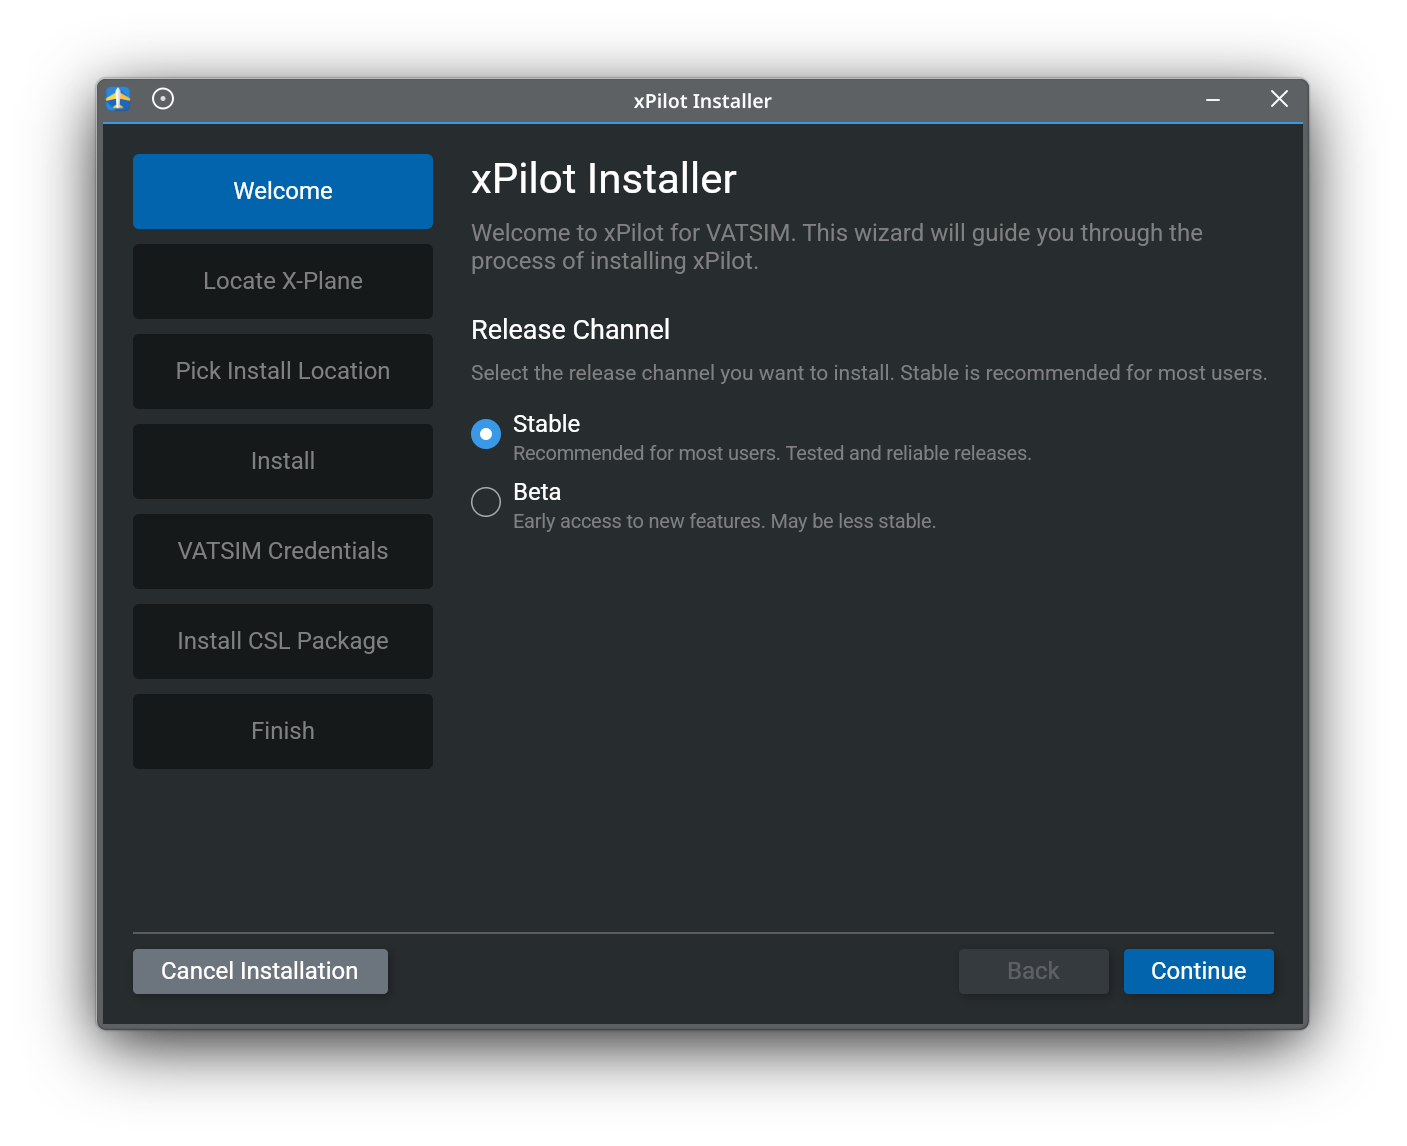
Welcome
When the installer starts, choose the release channel you want to install. Stable is recommended for most users, while Beta gives you early access to new features that may be less stable.
Locate X-Plane
The installer will automatically detect supported X-Plane installations on your system. Select each X-Plane instance where you want the xPilot plugin installed, then continue.
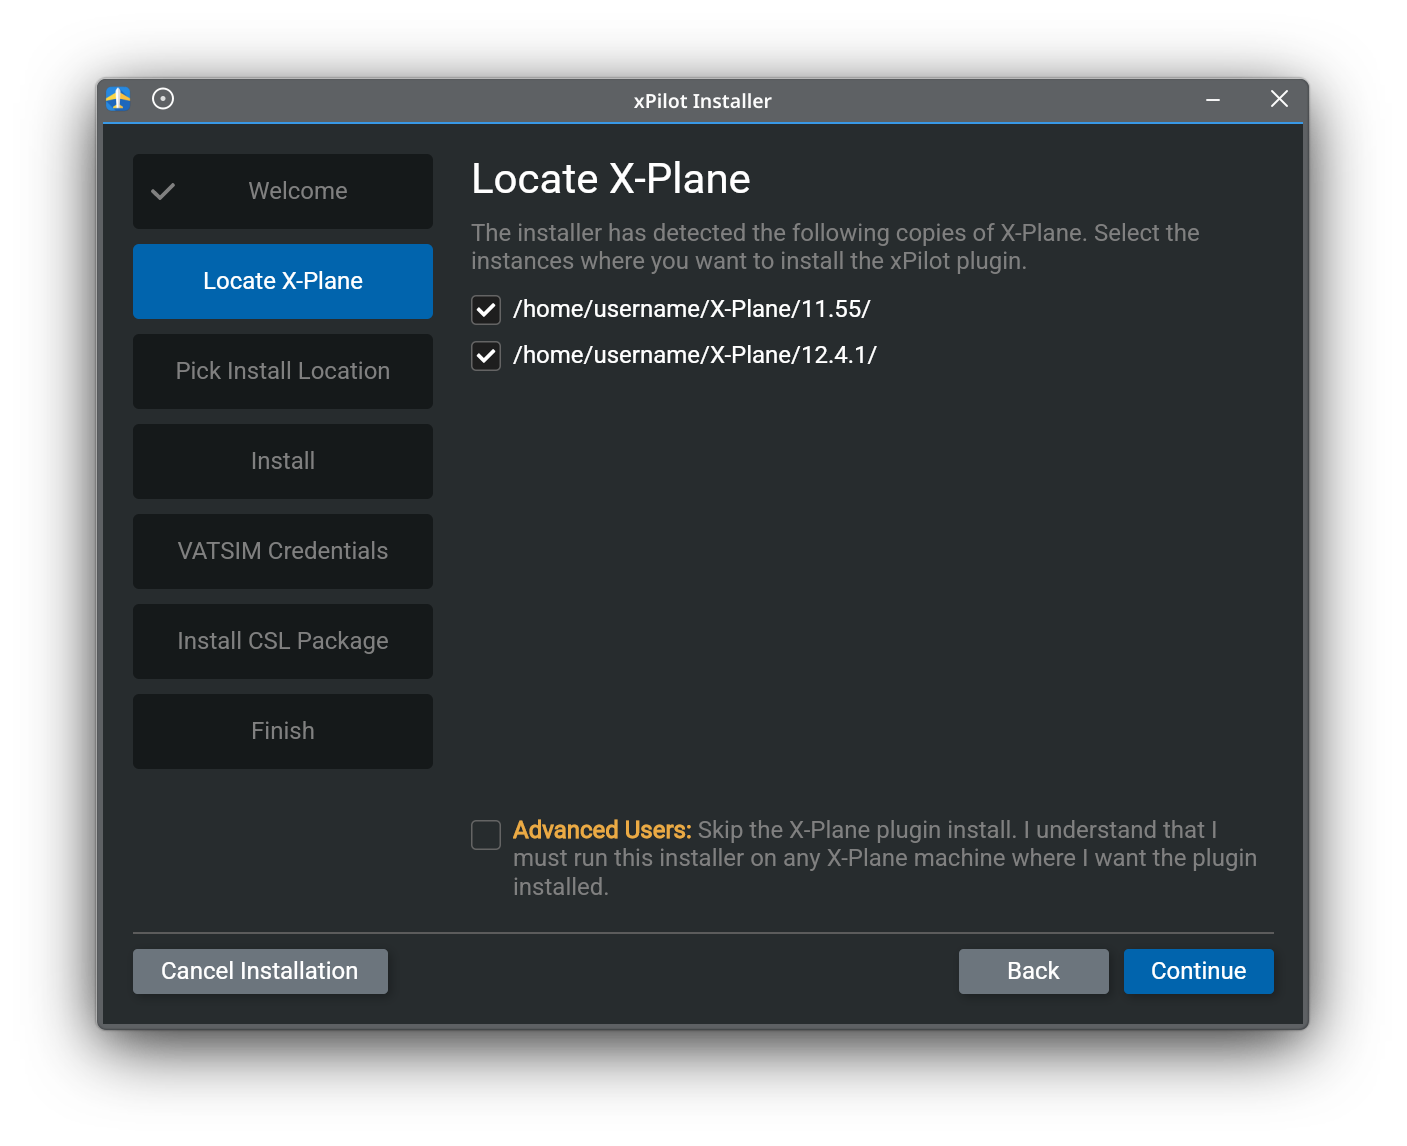
Advanced Users
If you use a multi-computer X-Plane setup, run the installer on each machine where you want the xPilot plugin installed. You can also select the advanced option to skip plugin installation on the current machine.
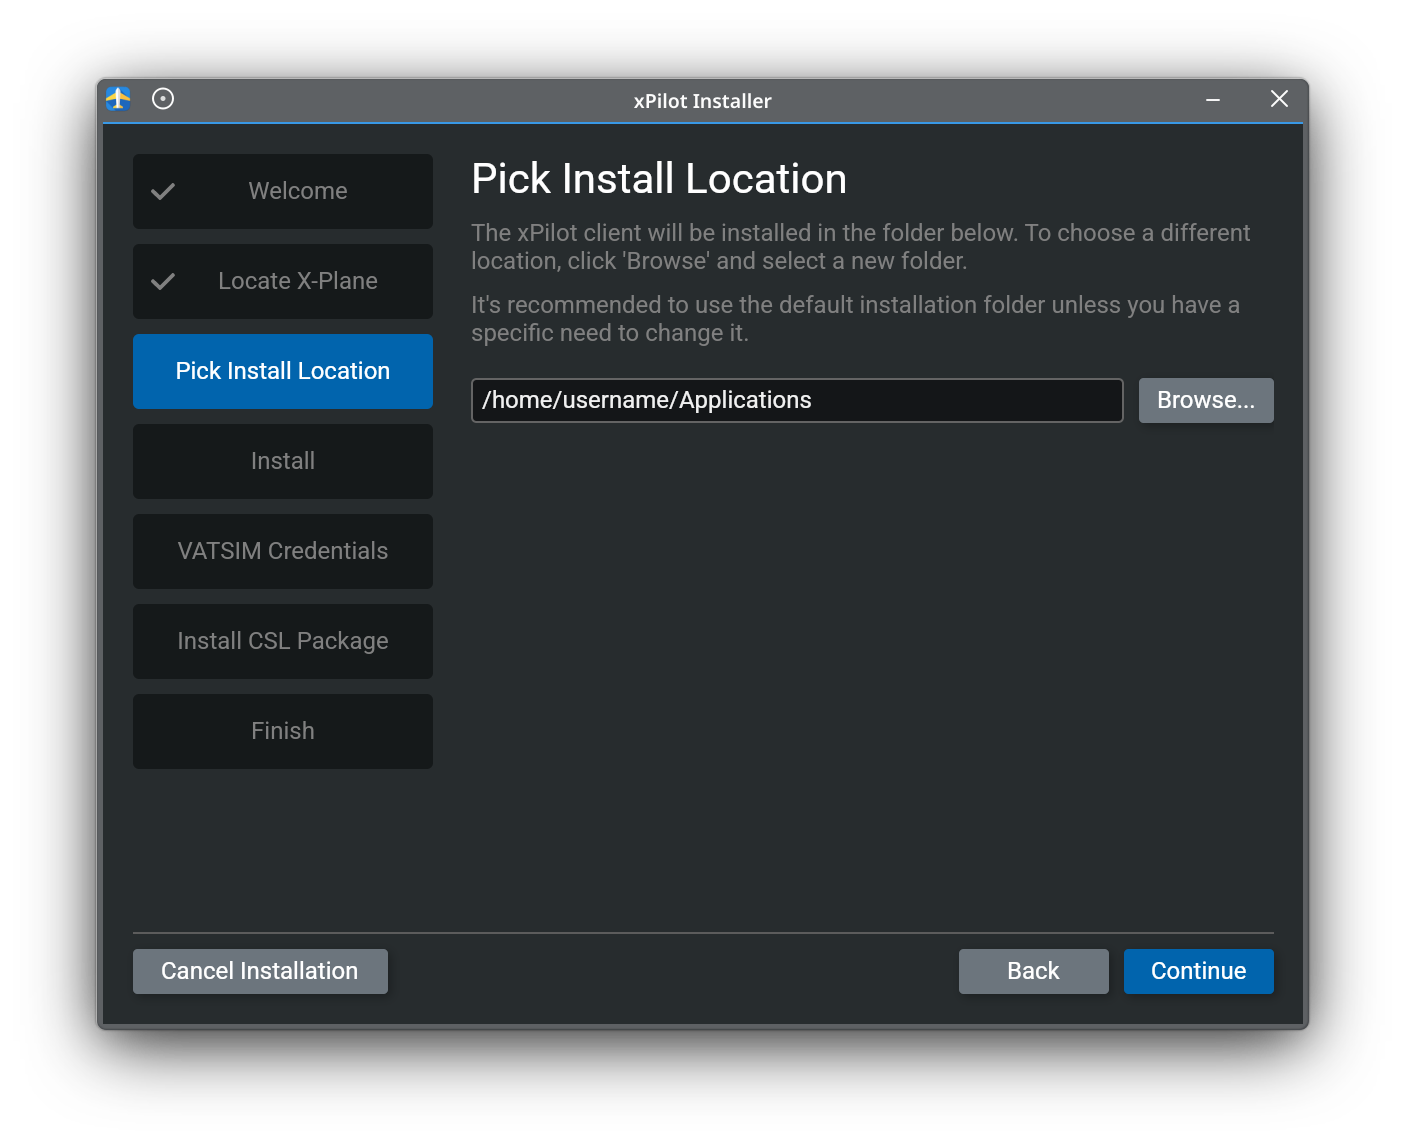
Pick Install Location
Choose where the xPilot client application should be installed. In most cases, the default location is the best choice.
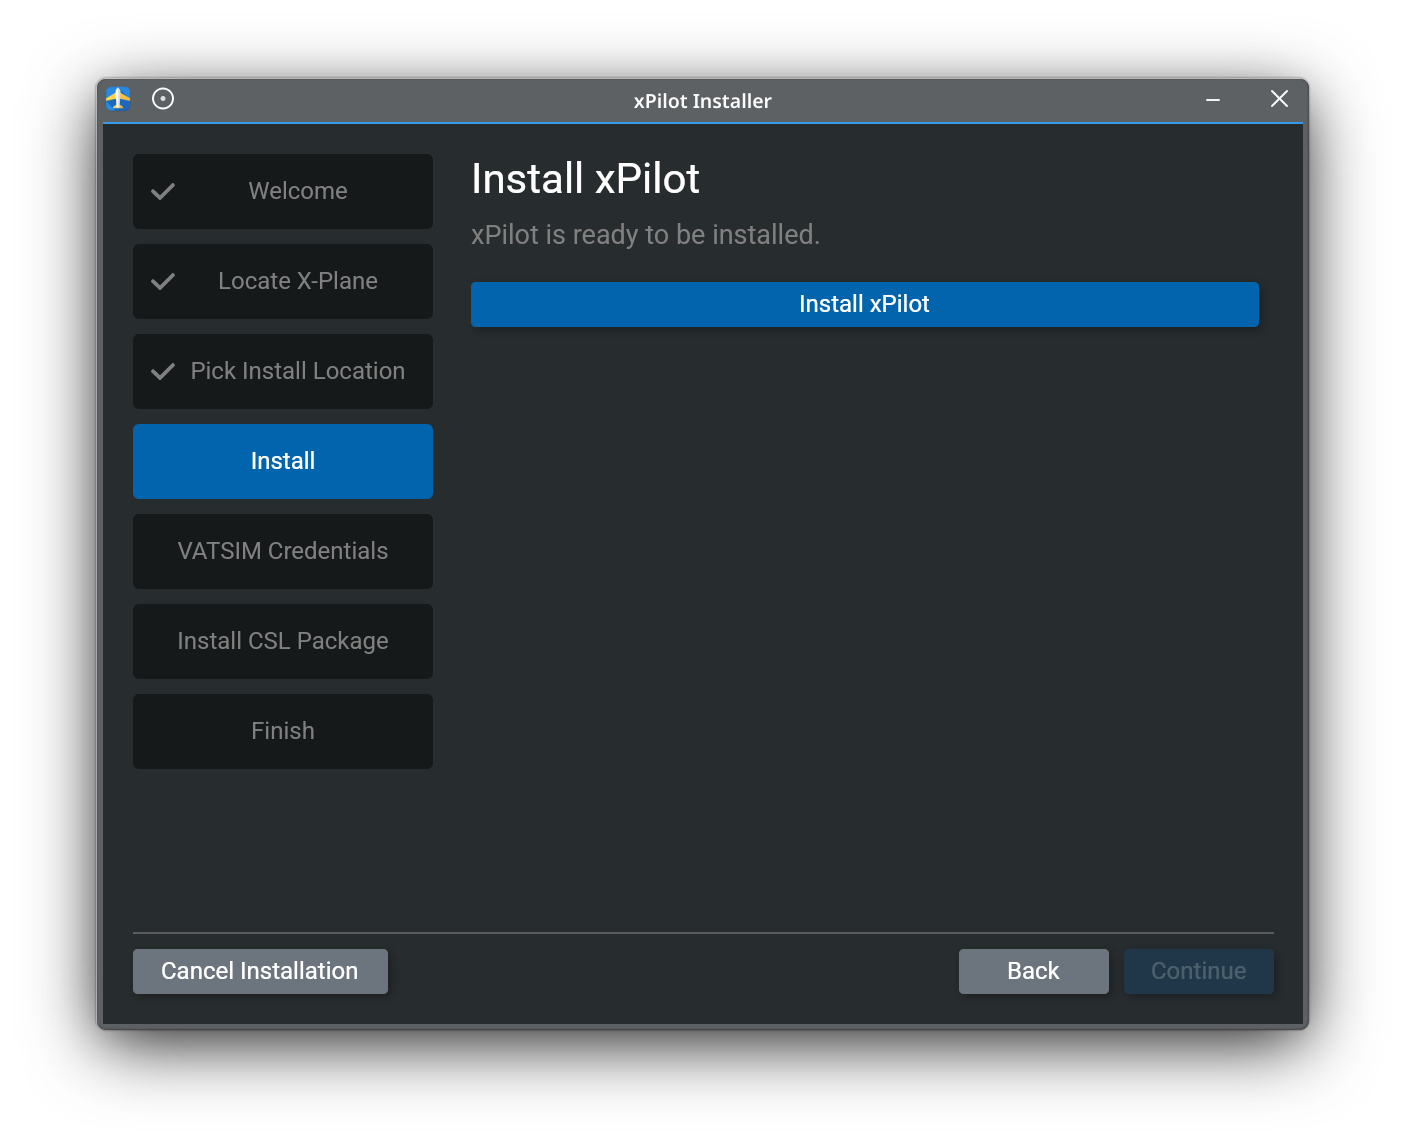
Install xPilot
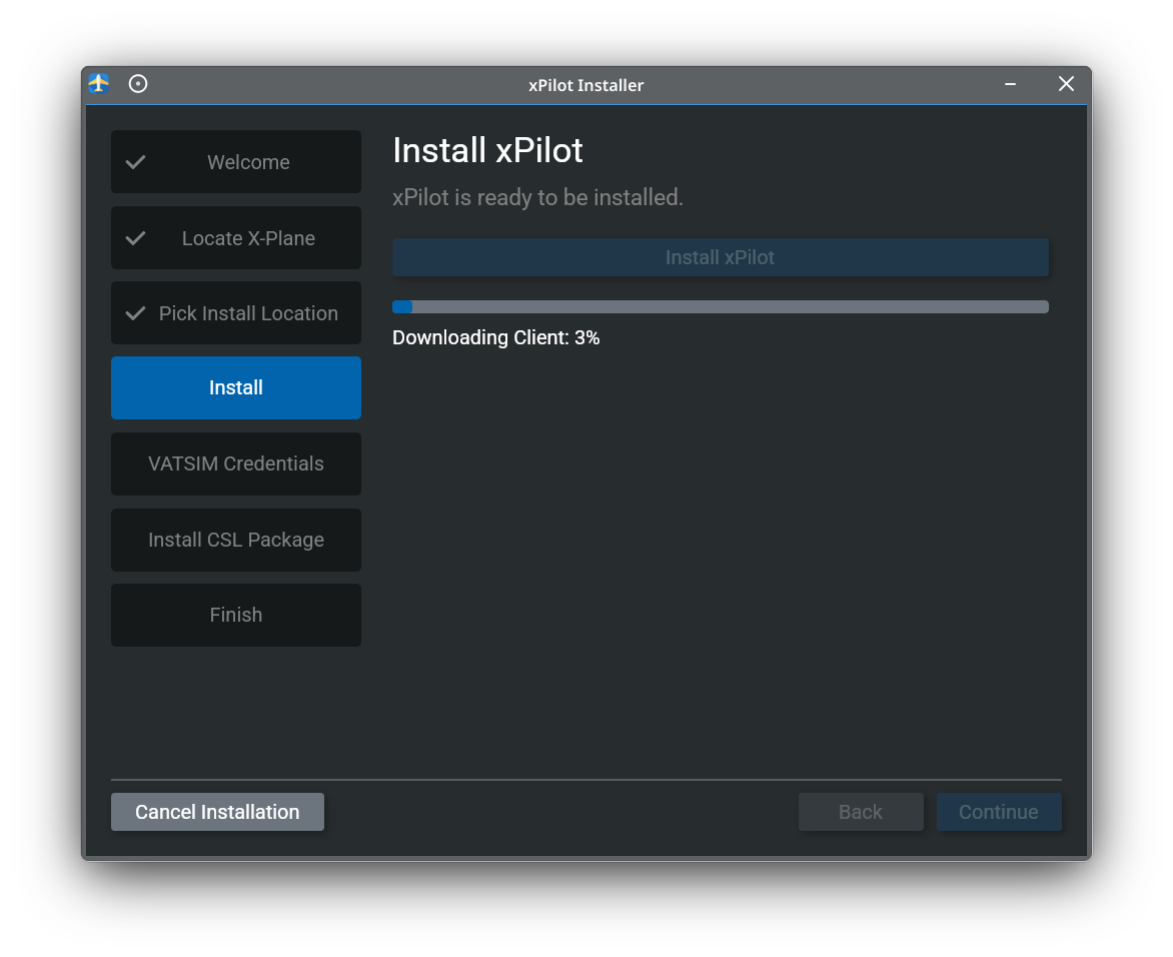
Once your X-Plane locations and client install folder are set, click Install xPilot to begin installing the client and plugin files.
During installation, the wizard will show download and install progress. Wait for this step to complete before continuing.
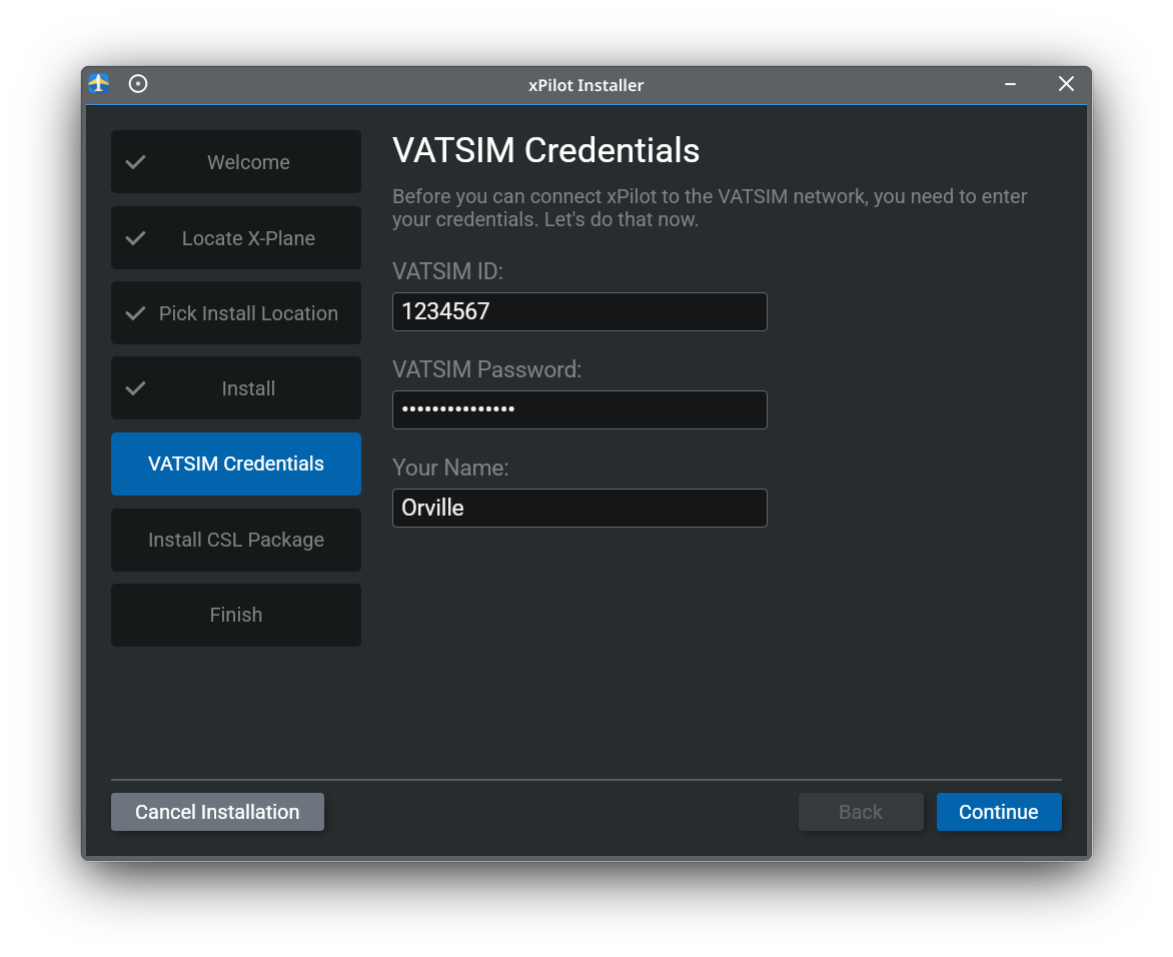
Enter Your VATSIM Credentials
After the client files are installed, enter your VATSIM ID, VATSIM password, and name. These credentials are used so xPilot can connect to the VATSIM network.
Install CSL Models
The installer can download and install the default CSL model package. This package is used to display other VATSIM traffic in X-Plane, and it is recommended for most users.
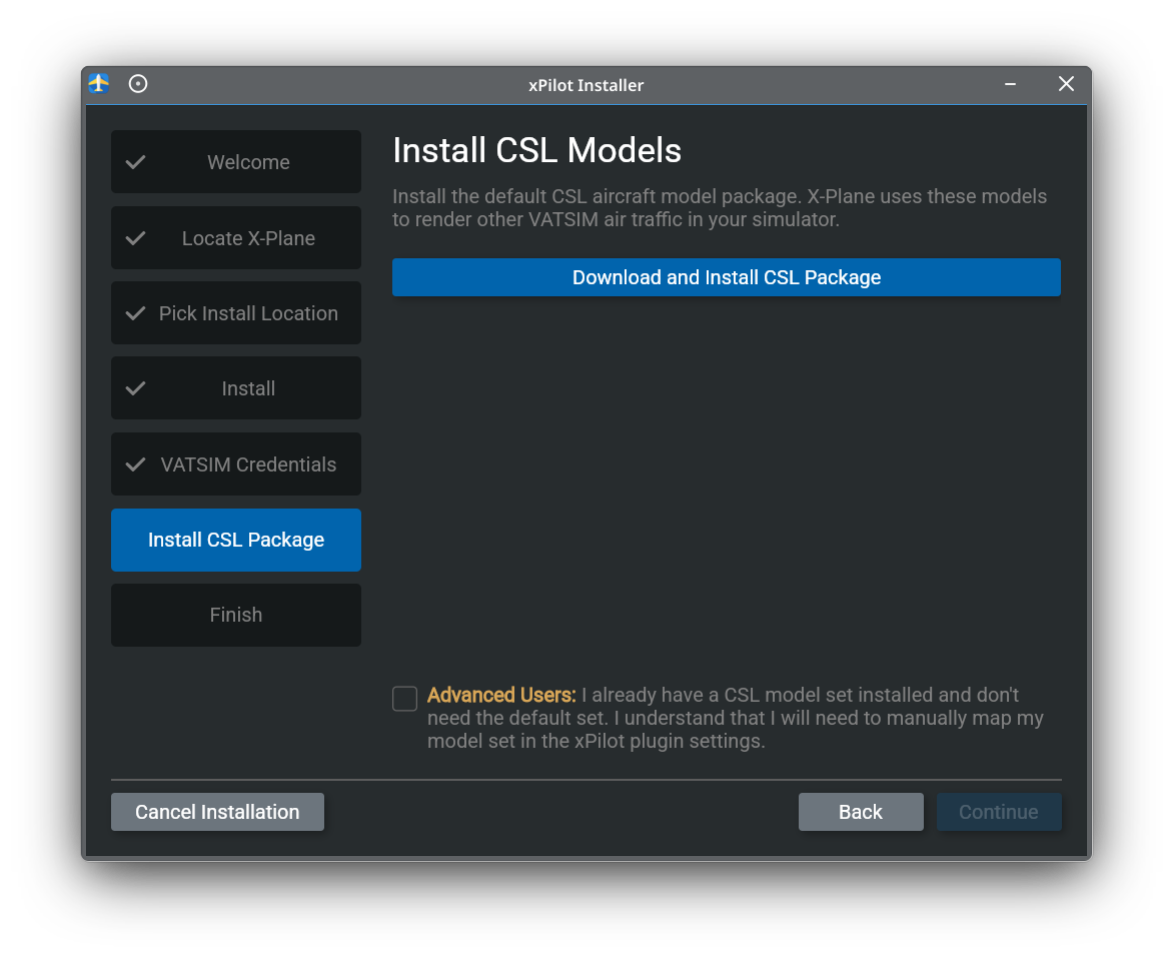
If you already maintain your own CSL model set, you can skip this step and map your models manually later in xPilot’s settings.

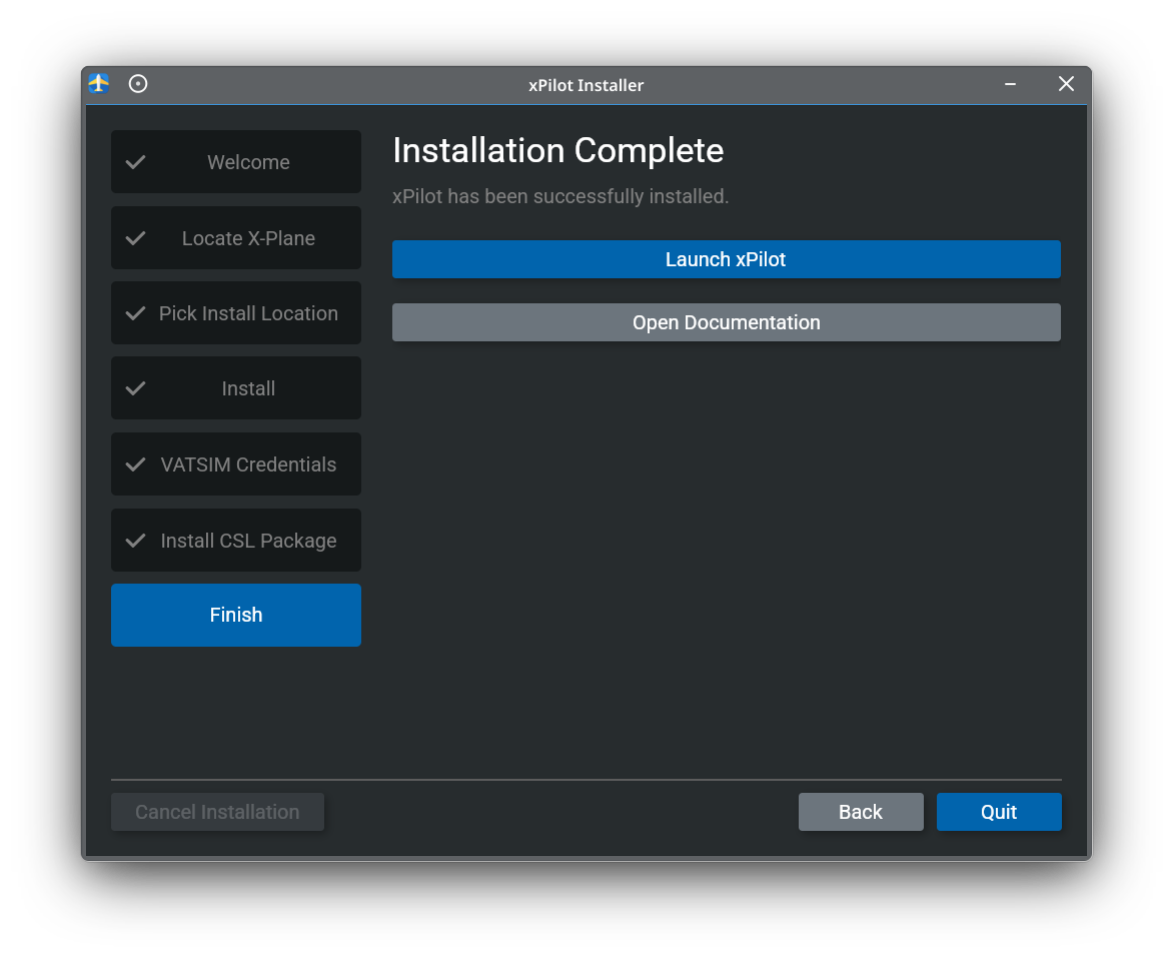
Finish
When installation is complete, you can launch xPilot directly from the installer or open the documentation from the final screen.
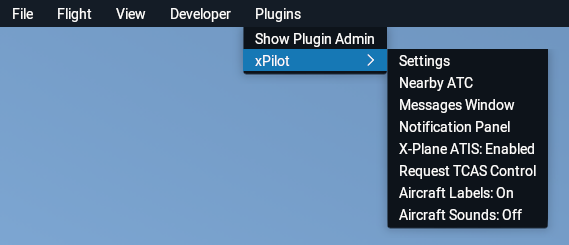
Now launch X-Plane and start a flight. If the xPilot plugin is installed correctly, you will see a new xPilot submenu under the X-Plane plugin menu.